
Mission Overview & Fleet Composition
The Shattered Blade have seized control of a strategic asteroid base in the Nyx system. The facility is heavily fortified with advanced defenses including 3 turrets capable of destroying capital ships in seconds. Your objective: reclaim the base and rescue kidnapped UEE pilots. This operation requires specialized loadouts primarily using strong ballistic weaponry, capital ship support, and coordinated teamwork across several diverse phases with unique gameplay.
The mission recommends 7+ players but can be completed with 4-5 highly coordinated pilots. You will first defend the friendly Idris named the “Tranquility,” assault heavily armored power relays with ballistics, navigate a dangerous trench run through the asteroid’s interior tunnels, and conduct FPS operations to rescue the captured pilot within the station’s interior on foot. Culminating in a final ship-to-ship confrontation against a Vanduul Mauler.


The Tactical Strike Groups mission is available through your MobiGlass. Under Verified Contracts navigate to the Mercenary tab and locate the InterSec Defense Solutions contract chain to accept this operation.
Intersec is looking for a team to intervene and protect the Tranquility and their personnel. Based on discussions with the Tranquility’s captain, you will need ballistics and ordinance to break down the defenses of the station and ultimately get boots on the ground to save their pilot.
Recruiting additional ships to support you in this mission is absolutely critical. You will need a variety of ship types to balance multiple combat zones in space and on the ground.
Respectfully,
Deacon Tobin
Operations Manager
InterSec Defense Solutions”
Do not deploy without confirming the following: Your squadron has all three ship classes represented, all pilots have verified their role assignments, ballistic weaponry is confirmed, and you have reviewed the phase-specific fleet positioning strategy.
This mission requires three distinct ship classes working in coordination for the best results. Each class serves a specific tactical purpose throughout different mission phases. If you can’t do exactly what I have described, bring the ships with the highest DPS you have that are Sub Capital. Ultimately you will want high DPS and combat capable ships over all else across several sizes.
| Ship Class | Primary Role | Critical For | Examples |
|---|---|---|---|
| Fighters | Power core destruction & air support | Phase 03 – Trench run to destroy power core. General air support against enemy craft and defenses throughout mission. | Gladius, Arrow, Buccaneer, F7, F8, etc |
| Sub Capital Class Military Craft | Air superiority & external assault | Phases 01-02 – Establish air superiority over the location. Deal bulk damage to external objectives (power relays, turrets). | Perseus, Paladin, Constellation Andromeda, Corsair |
| Capital Ships | Support & final engagement | Phase 05 – Essential for Vanduul Mauler boss fight. Provide fire support and area control throughout operation. | Polaris, Idris, or comparable (player-owned) |
For a 6-8 pilot operation, this is the optimal fleet breakdown:
FPS COMBAT LOADOUT
All pilots must carry proper FPS equipment as there is FPS Content during Phase 04. This is NOT optional unprepared pilots are will not be able to assist during this phase. Equip at any major landing zone before deployment.
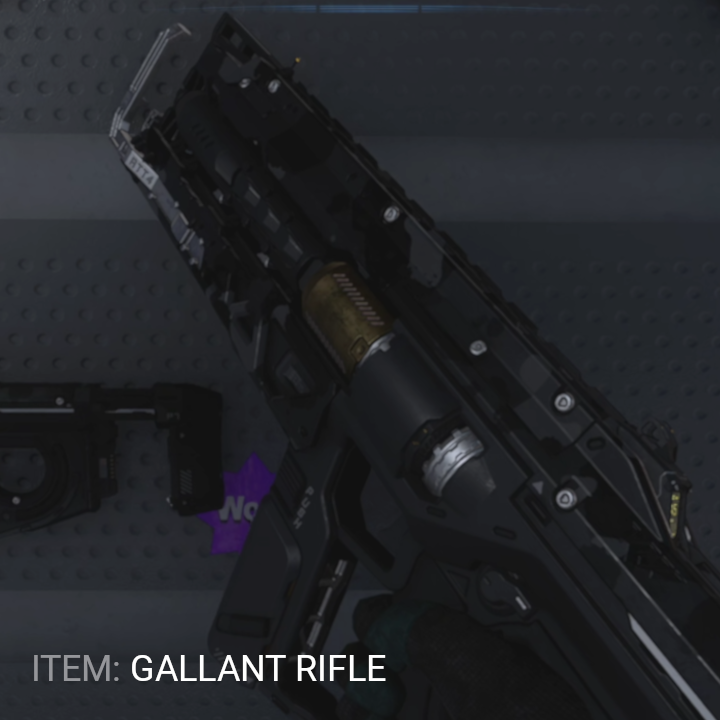
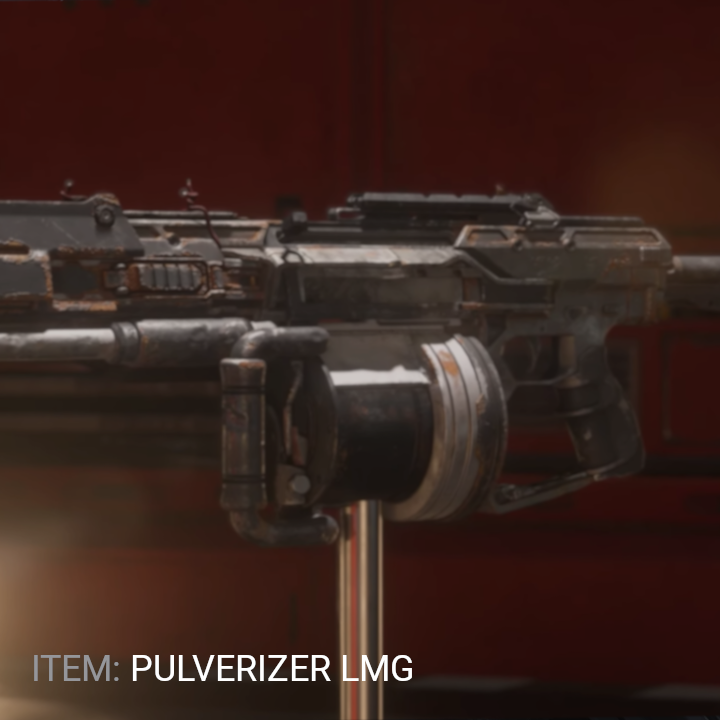
Heavy or medium combat armor recommended. Station interior operations in Phase 04 involves close quarters FPS combat with a large number of enemies. For these FPS sections I highly recommend the Gallant Rifle or Pulverize, but no matter what you choose be sure to grab ammo. Prioritize armor to match your preferred play style as you see fit.

Bring a primary weapon suitable for close to medium range combat. SMGs and assault rifles are ideal. Sidearms are backup only but should not be skipped.
Karna Rifle – Energy rifle, shield penetration
Pulverizer LMG – High-capacity SMG
Volt Rifle – Energy SMG, rapid fire
Arclight Pistol – Energy sidearm
LH-86 Pistol – Reliable ballistic backup
CureLife Paramed Medical Device – Reliable Healing
Every pilot should carry personal medical supplies. Having every team member bring along some meds and will ensure you walk away with the least number of casualties and a higher rate of success.


Backpacks are mandatory for carrying extra ammunition, medical supplies, and mission-critical items during FPS operations in Phase 04. While salvage tools aren’t largely needed for this operation, they’re not a bad idea to bring for emergency ship repairs. The primary utility focus is maintaining ship combat readiness.


BRIEFING COMPLETE – DEPLOY TO PHASE 01
01: Idris Defense / Fighter Waves
Your first objective is defending the friendly Idris class vesseled named the “Tranquility” from successive waves of enemy fighters. The Idris serves as your mobile base throughout this mission in case you dont bring your own. it provides rearming and repair services, allowing you to replenish ammunition and repair ship damage between combat waves. Protecting the Tranquility is critical; if it falls, you lose your resupply capabilities the contract provides.


This phase is straightforward: enemy fighters attack the Tranquility in waves. Fly in and destroy all hostile ships before they can destroy the Idris. That’s it.
Expected Enemy Composition
Intercept incoming fighter waves, eliminate all hostiles, protect the Tranquility. Once the area is clear, rearm at the Idris if needed and proceed to Phase 02.
02: Power Relay Assault
With the Idris secured, assault the asteroid base’s power relays. These critical systems are protected by heavily armored metal doors near the large tank shown below. These metal doors can ONLY be damaged by ballistic weapons or missiles, energy weapons are completely ineffective. The area is defended by 3 anti-capital class ship weapons and automated turrets of various varieties that are more than capable of destroying ships rapidly if not dealt with.


The power relays are housed behind 4 reinforced metal doors designed to withstand energy weapon fire. Ballistic weapons and missiles are mandatory for this phase. Ships equipped primarily with energy weapons will be unable to contribute to door destruction verify your loadout before engaging.


03: The Trench Run / Core Destruction
This is the most dangerous phase of the operation and is the most likely to halt your progress. You must navigate narrow tunnels inside the asteroid base with fighters to destroy circular tanks referred to as “Cooling Units”. You must first destroy the “Cooling Units” in order to deal the final blow to the station’s power grid via the station core. Environmental hazards like the layout of the tunnels themselves, as well as the constant distortion damage can rapidly disable or destroy your fighters. The key here is to have light fighters do quick runs through one interior section at a time. This limits your exposure time to distortion damage, limits risk and prevents player ships from colliding. Avoid crossing the core into another section if it can be helped until it’s time to destroy it.


The asteroid tunnels can be entered via one of the 3 entrances shown above. As mentioned, these are narrow, complex in layout, and filled with passive distortion fields that will shut down ship components. Navigation obstacles and complex internal structures make precise flying essential. The tactical challenge: you need speed to minimize distortion exposure, but controlled flight to land accurate shots on the cooling tanks. Focus on Tunnels A, B, and C one at a time, each contains a fixed number of Coolers.


Navigate the tunnel system and destroy all circular cooling fluid tanks protecting the main power core. There are 3 tunnel entrances (Gate A, B, and C) with 6 coolant tanks each for a total of 18 tanks. Coordinate with your squadron to assign teams to specific gates to maximize efficiency and minimize exposure time.

Once all 18 cooling units are destroyed, the main power core at the center becomes exposed and vulnerable. Enter the tunnels once more and push through the triangular gates to reach the core. All squadron members in fighters should converge on the core for concentrated firepower to destroy it quickly with minimal exposure to distortion damage.
After destroying the power core, enemy reinforcements arrive to intercept your squadron. The Idris “Tranquility” faces a second wave of attacks this time with significantly heavier firepower. Capital-class vessels, heavy fighters, and coordinated strike craft will assault your position across multiple waves. All available combat vessels must engage to protect the Idris and secure the area before proceeding to Phase 04.
Expected Enemy Composition (3 Waves)
Tactical Approach: Capital ships engage enemy capitals at range. Heavy fighters focus fire on Perseus and Hammerhead turrets. Light fighters provide point defense and handle strike craft (Buccaneers, F7C Mk II). Coordinate fire on priority targets—eliminate capitals first, then mop up remaining fighters.
04: FPS Combat & Pilot Rescue
With the asteroid base power systems destroyed, you can now infiltrate the facility on foot via a pad near the large tank that should now be destroyed and producing smoke. You are returning to the area with the power relays you attacked earlier. This time however you will be entring the facility to activate the Security terminal to release the kidnapped UEE pilot locked within the station while dealing with heavy resistance from the Shattered Blade.


Enter the asteroid base and fight your way to the computer terminal. The interior features close-quarters combat against entrenched enemy forces. This is a straightforward combat-focused FPS segment—no complex puzzles, just tactical room clearing and objective completion. The only catch is you have to use a ladder to enter the ventilation of the facility to access the sealed security room as shown above. The ladder and the room shown is to the immediate right of the security room.


The rescued pilot is attempting to escape in their Freelancer. Enemy forces, including Vanduul fighters, will attack during the escape sequence. Your squadron must provide cover and destroy all hostile contacts to ensure successful extraction. Basically, very similar to a normal escort mission as seen elsewhere, just with more hostiles.

05: Final Confrontation / Vanduul Mauler
A Vanduul Mauler, a Capital Class Cruiser,has arrived to intercept your extraction thanks to the Shattered Blade sending out a radio signal to antagonize the Vanduul earlier. This is the mission’s climactic battle before things wind down. The Mauler is nearly as large as the Aegis Javelin, so be prepared for a fight. Capital ships are your primary damage dealers and tanks in this situation. Coordinate all available firepower to destroy the Mauler as quickly as possible. It has a large amount of shields and hull health, expect a long fight unless you brought plenty of friends.
Capital ships: Keep everyone somewhat close together. Maintain sustained fire on the Mauler with Capital Class Firepower as much as possible. You’re the primary damage dealers—fighters cannot carry this fight normally.
Fighters: Light craft should focus on the Vanduul Fighters in the area and provide additional damage to the Mauler when able. If circumstances and server performance allow you can likely also help take out missiles as well.
Completing Tactical Strike Group contracts provides a chance to acquire permanent crafting blueprints from two distinct reward pools. These blueprints allow you to craft exclusive equipment and weapons.


Blueprint Pool One – Equipment & Weapons
Whitehot, Blackfire, Blueflame
Whitehot, Blackfire, Blueflame
Thunderstruck, Frostshock, Airwolf, Blue Skies
Base, Nighthunter, Ghostmaker, Wildshot
Blueprint Pool Two – Ship Components
Omnisky II, VI, IX, XII, XV, XVIII
JS-300, JS-400, Quadracell MX
TACTICAL STRIKE OPERATION CONCLUDED – EXCELLENT WORK, SQUADRON